- Go to one of the printers that can scan (see list above).
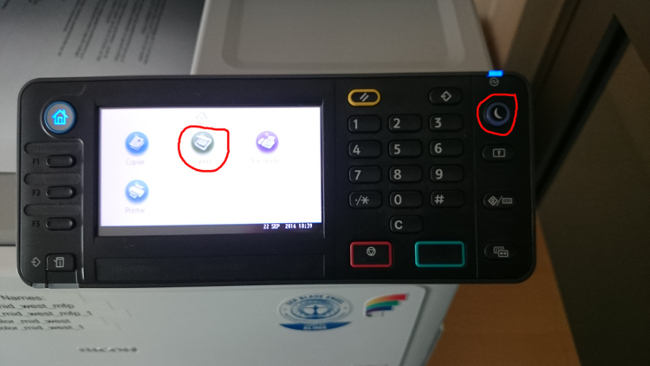
- Sometimes you have to wake up the printer (click on the quarter moon button) and touch "Scanner" on the touchscreen
-
Select Destination from Address book and click on the right side "Search Dest."


-
There you click on "Name" and type your first name. Press OK and click on "Start search". You should see your name. Click on it and then two times "OK".

- After this click on the green button which lights blue (under the display).

- You have to choose a sender now. Click on"[00001] Sender Adr." and confirm with OK.

- Press the green Button again.
- The printer should scan your documents now!
- At the end click on the Home-Button (left of the display).
NOTE: If you are scanning from the glass, press the # after the last page (to send the email).
USB-Stick
Go to one of the Ricoh Aficio MPC 305 (in 1.25 or 1.61) and insert the USB-Stick on the right side of the screen.

Sometimes you have to wake up the printer (click on the quarter moon button) and click on Scanner.

Click on the right side on "Send Settings" -> scroll down to page 4 of 5 and choose "Store File" -> click 2x "OK -> press the scan button (under the display) -> Done


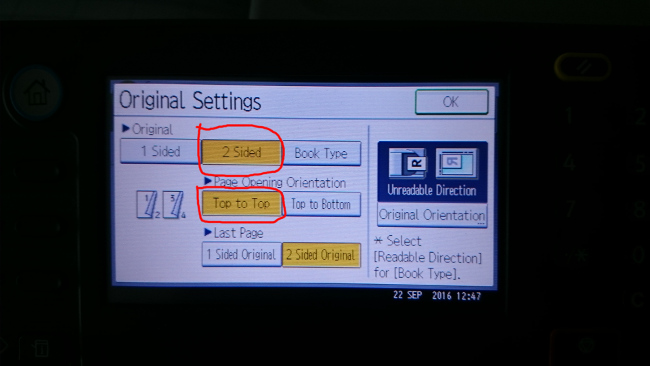
How to scan two-sided
Click on the right side the button "1 Sided" and choose then "2 Sided" with the option "Top to Top".

Scanning to Email: Example HP Printer
- Go to one of the HP printers that can scan (see list above).
-
Select "Scan to Email" from the menue.

- Click on "Continue" without changing anything.

- Click the "To______" field to type your mailing address in the next window.

- Type your mailing address in the field using the keyboard. After this is done, click on "Done".

- If you want to create a two-sided scan, click on the cog to open the settings.

- Scroll down until "2-sided Original" appears.

- Switch the "off" button to "on" by tapping it. After this, go back by using the arrow on the left side.

- Click on "Start Scan".

- Optional: After the scan is finished, you can add further pages by clicking "Add Page".

Data Privacy
Information about Data Privacy.